
Using ngrok and Pipedream for Local Adyen Development
Utilizing an ngrok and pipedream setup will allow you to “queue” events and push them to a local environment as needed.
Setup is specific to Magento development but should provide good information outside of Magento-specific instructions.
ngrok Setup
Install ngrok: https://ngrok.com/download
On Windows, open a CMD or PowerShell window
- Navigate to your local ngrok directory (Ex:
cd C:\ngrok)
- Navigate to your local ngrok directory (Ex:
On Ubuntu, the command should be global
Run command
ngrok http <your local url here>- You will need to add your local URL to the ‘Allowed Origins’ in the Adyen web service API configuration.
If everything worked correctly your CLI will look similar to this:
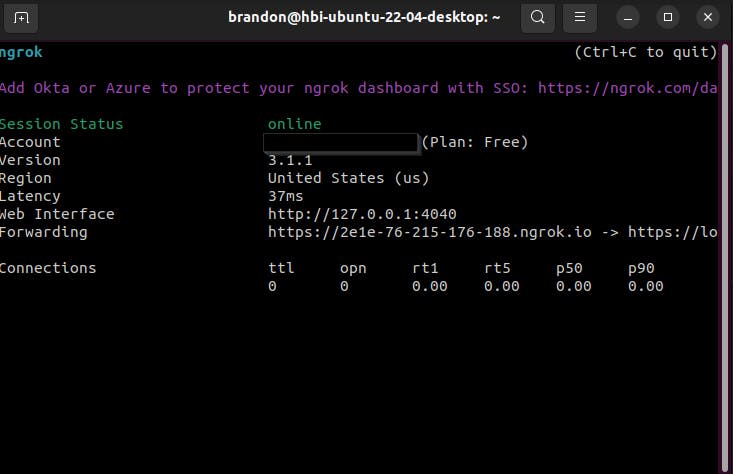
Copy the forwarding address (Ex:
https://2e1e-76-215-176-188.ngrok.io), paste it into a browser, and ensure that you are seeing your local site
Adyen configuration
Sign into Adyen's customer portal
- ask someone to help set up your credentials if you don’t have them
Make sure you are working in the correct merchant account in Adyen
- this will be specific to your Adyen setup but can be located in the top right corner next to the Adyen logo.
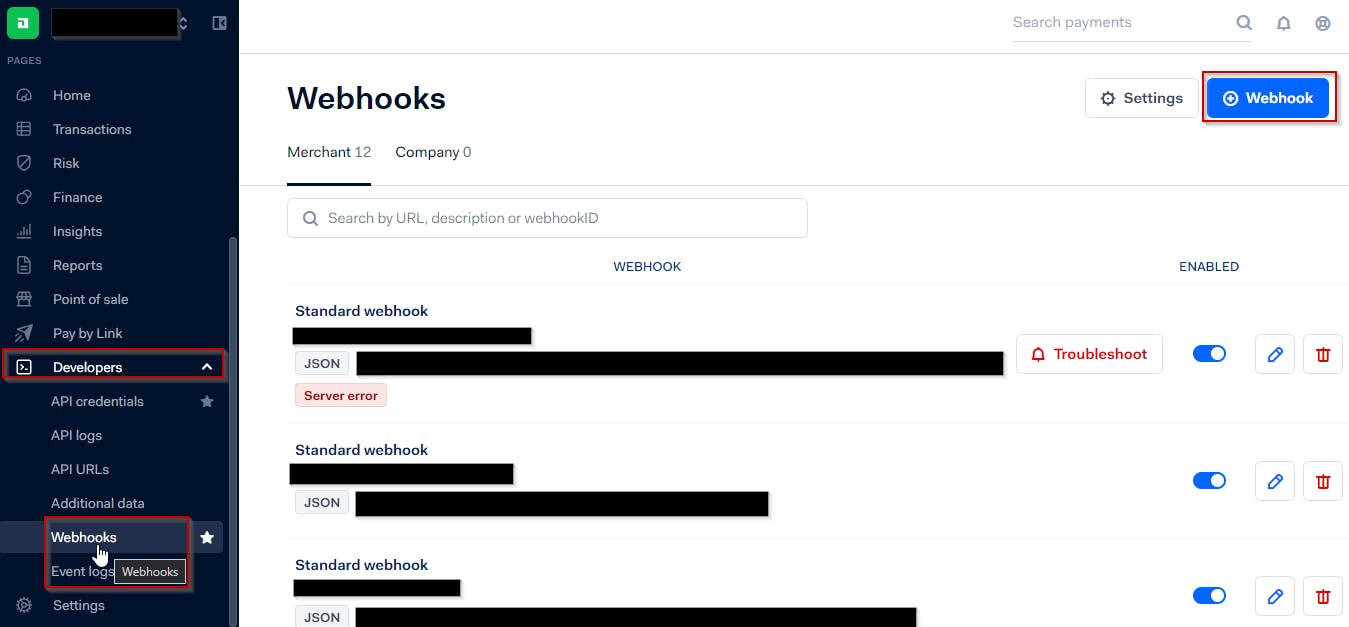
Select ‘Webhooks’ under ‘Developers’ in the left-hand sidebar
- Click ‘+ Webhook’ in the top right-hand corner
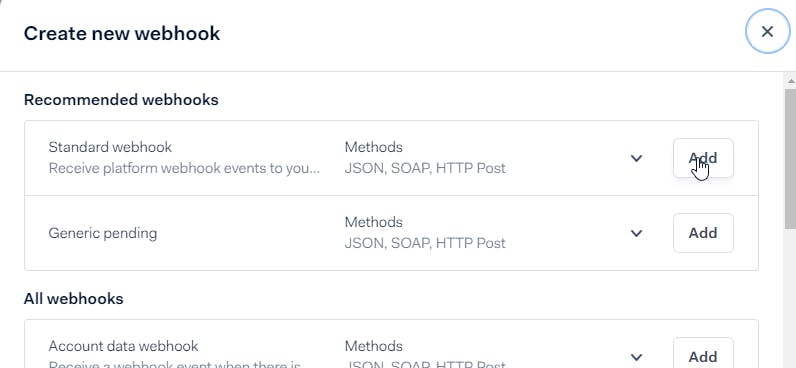
Select ‘Add’ on the ‘Standard webhook’ row
Fill in the following fields:
Description - any description you would like
Server Config - this will be the ngrok URL we set up in the previous step:
add
/adyen/process/jsonto the end of the URL
Events - Default events enabled
Basic Authentication - Username & Password
Use the username and password setup in your Magento Adyen configuration
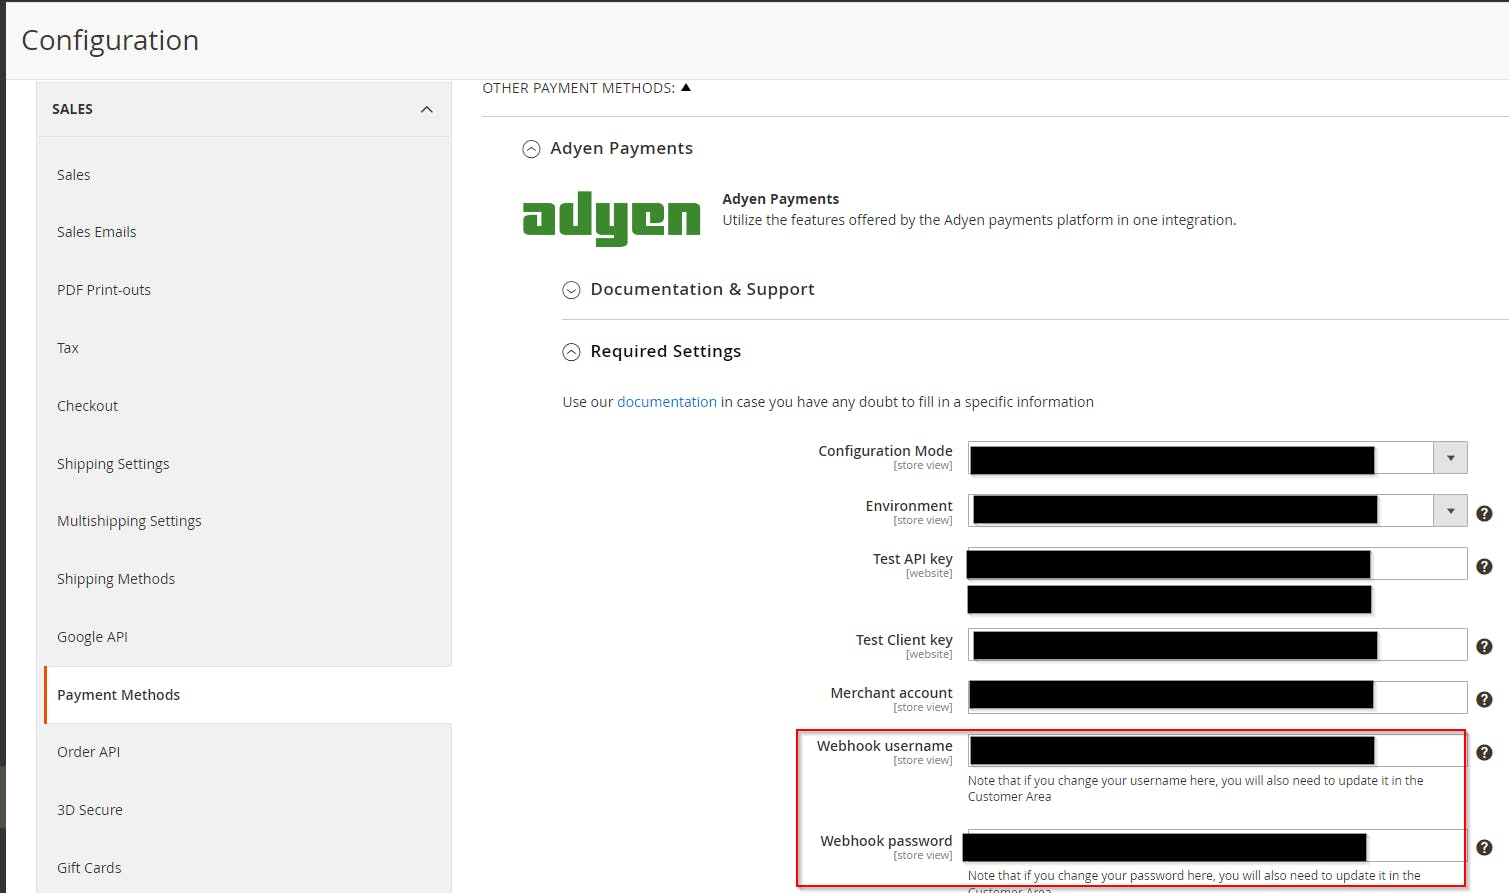
HMAC Key - Generate a new HMAC key and copy it somewhere secure for use in your local configuration
- should be located directly below the webhook password (as shown above)
Additional Settings - leave defaults
Click ‘Test Configuration’ in the bottom right of the browser window
Select Event: ‘Authorisation’
Click ‘Test’ in the bottom right
You should get a ‘200 - OK’ response code
Pipedream setup - for queueing events
Sign up for a Pipedream account: https://pipedream.com/auth/signup
Once you’re logged in open the left-hand sidebar (it will auto-open if your browser window is large enough)
Click on ‘Sources’
Click on ‘New +’ in the top right corner
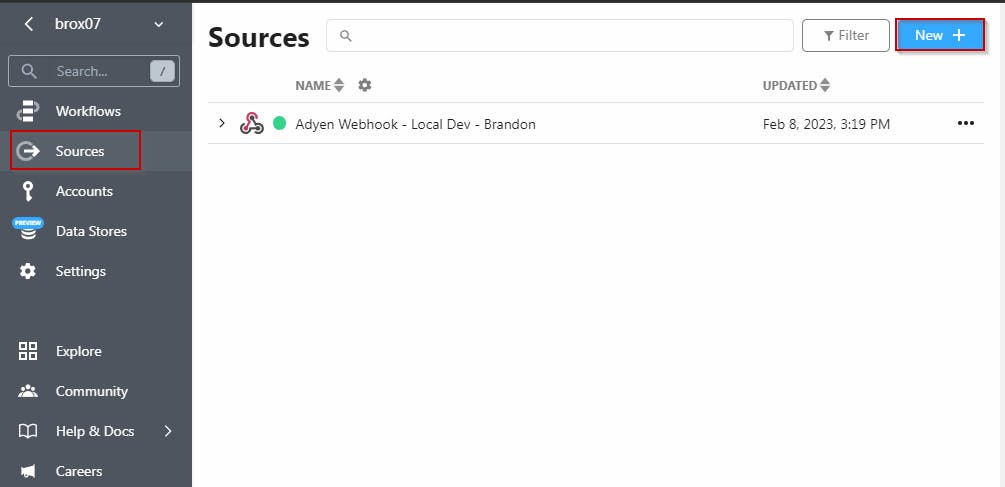
Click on the ‘HTTP/Webhook’ option
Select ‘New Requests’
Click on ‘Response Body’ and change it to
"[accepted]"Add a name to your new endpoint
Click ‘Create source’
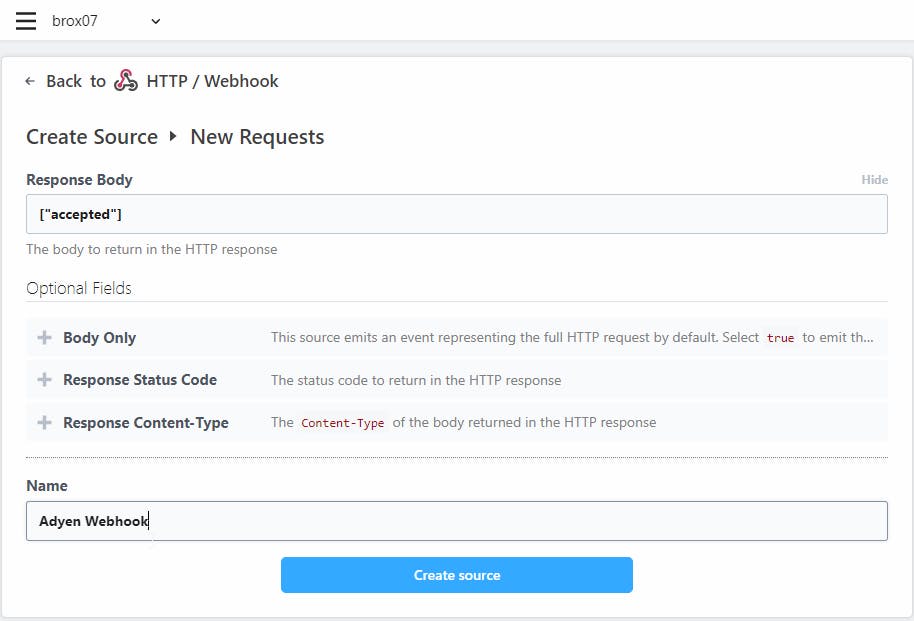
You will see a screen similar to this:
Confirm the response body shows
"[accepted]"Copy endpoint URL
Click ‘Create Workflow’
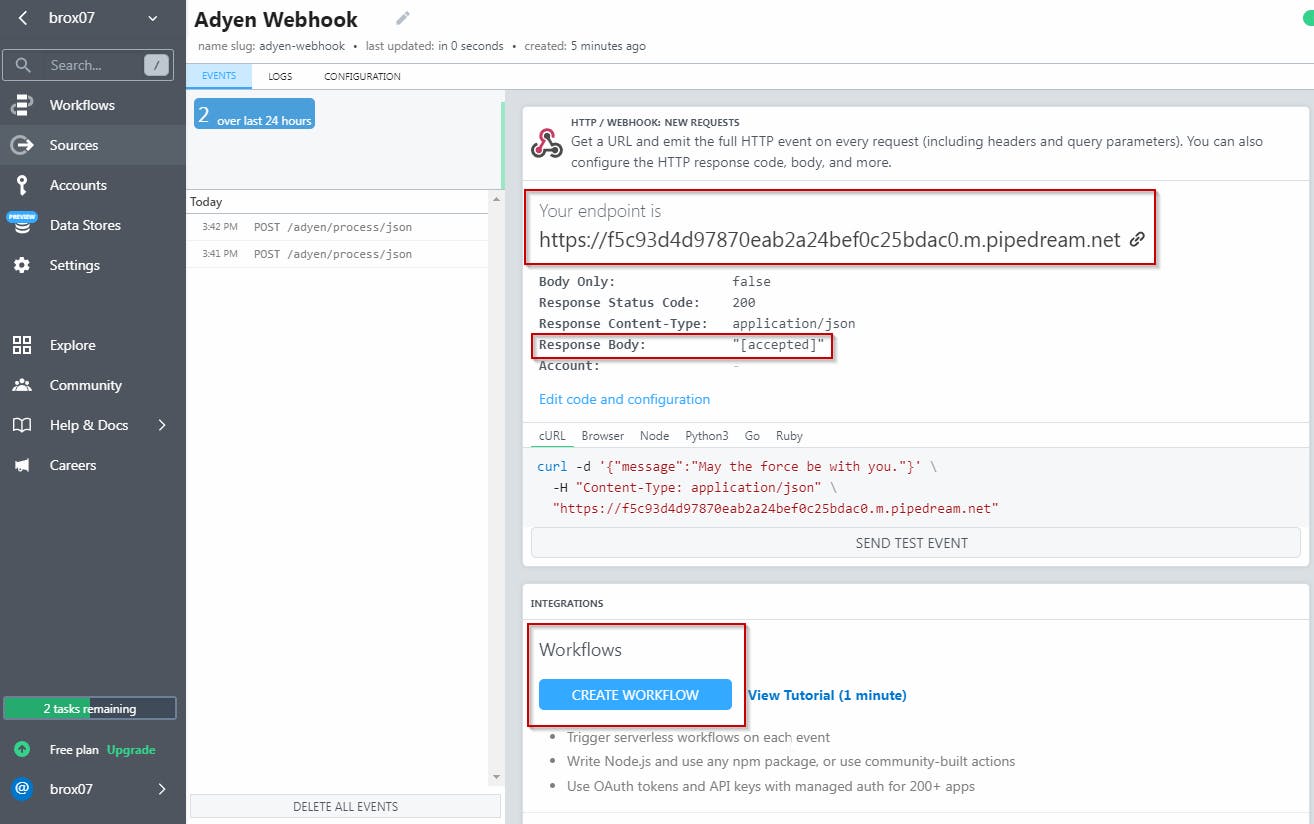
Leave the workflow open.
Open a new browser tab and go to the Adyen Customer portal
Change your Webhook URL configuration in the Adyen Customer portal
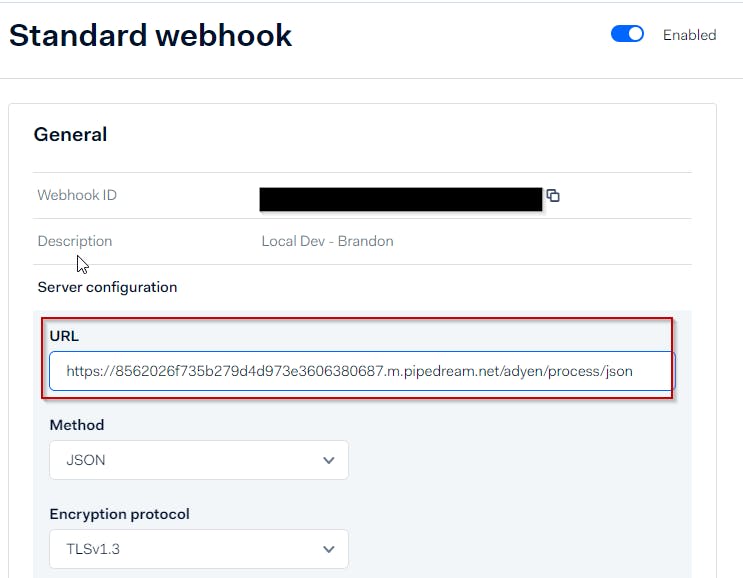
Test configuration and make sure you get a ‘200 - OK’ response code from Pipedream
- see step 6 in Adyen configuration
Go back to your workflow in Pipedream
- Click ‘Select event…’ and select an event
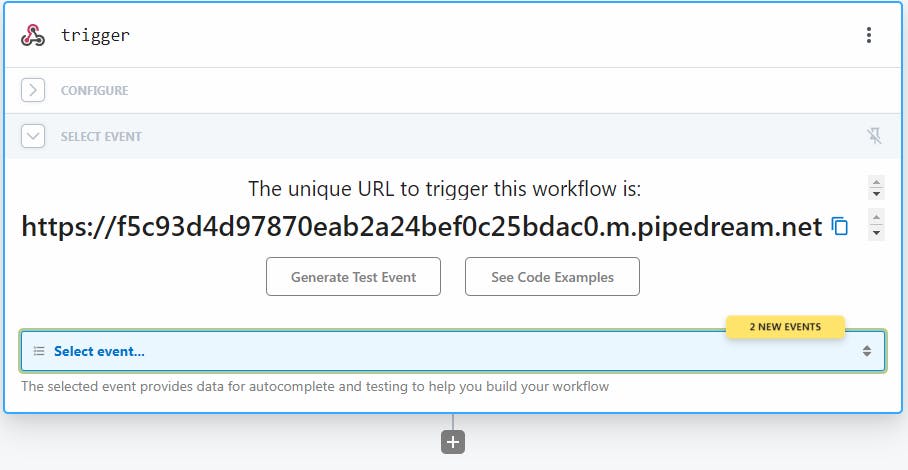
You should receive a success message and an export including all of the POST contents
Review this info to make sure you’re receiving the appropriate test POST
Click ‘Continue’
This will add a step to your workflow
- Select ‘HTTP/Webhook’ again
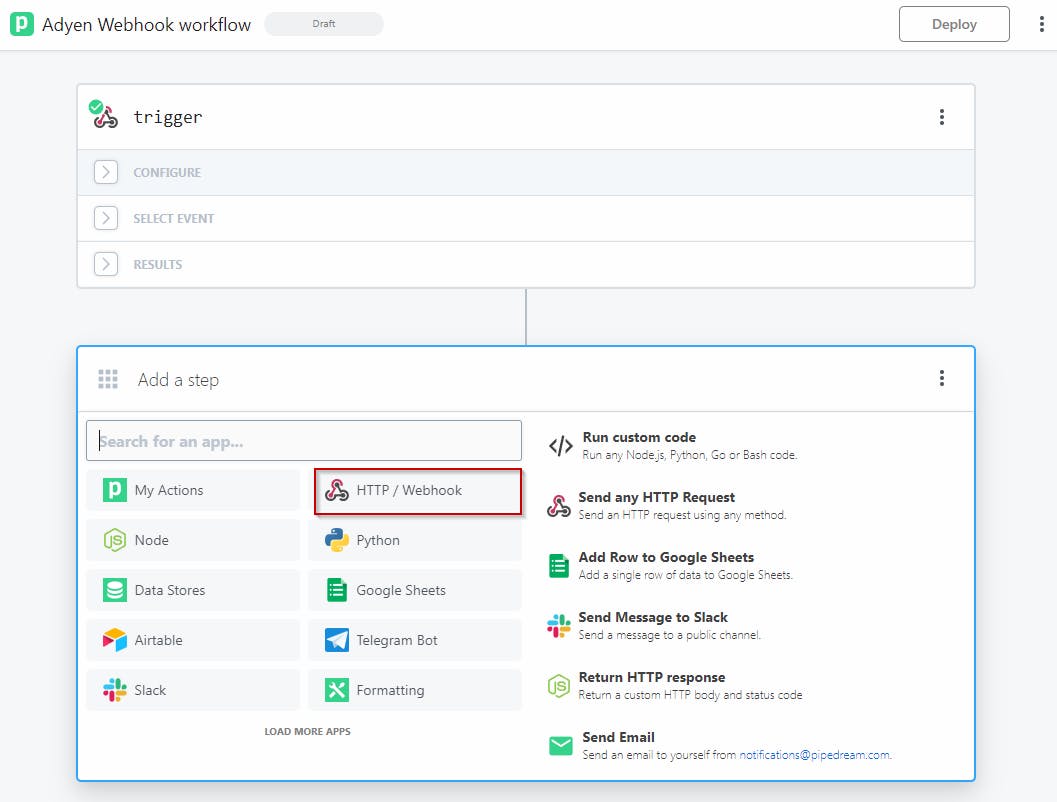
Select ‘Send an HTTP Request for any HTTP/Webhook API’
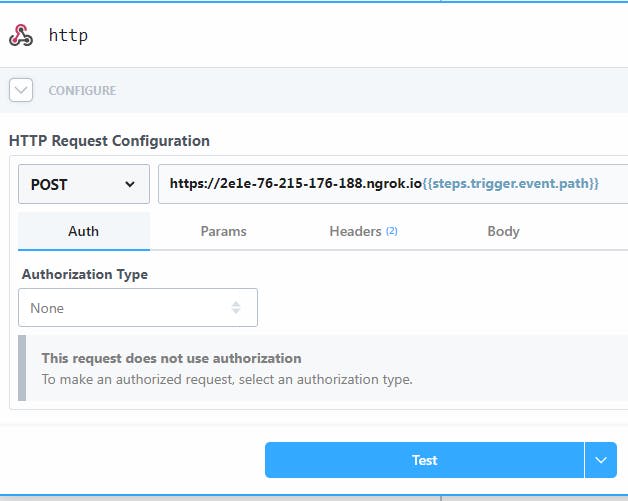
Set the Request Configuration
change Auth to ‘none’ in Auth tab
Request: POST
URL: ngrok tunnel from step 6 of ngrok Setup
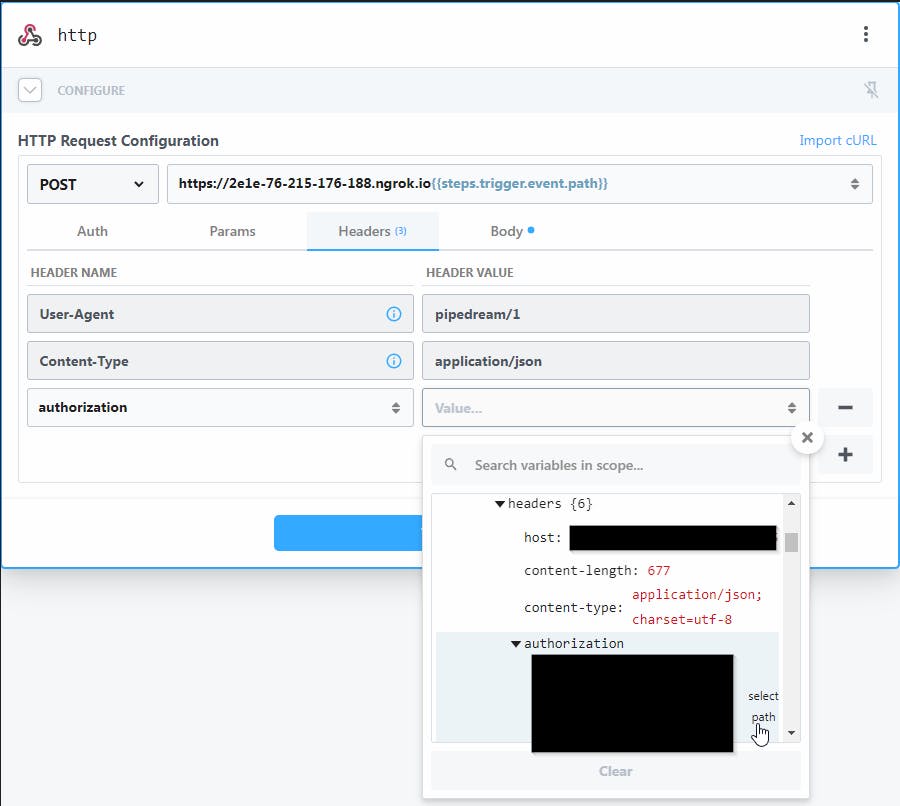
add auth header
Name: “authorization”
Value: Click on the box labeled “Value…” to get a dropdown with all of the data from the event we received from the Adyen test earlier. Click on “select path” next to “authorization” to populate the field
add Body
Key: “live”
Value: see image below
Key: “notificationItems”
Value: see image below
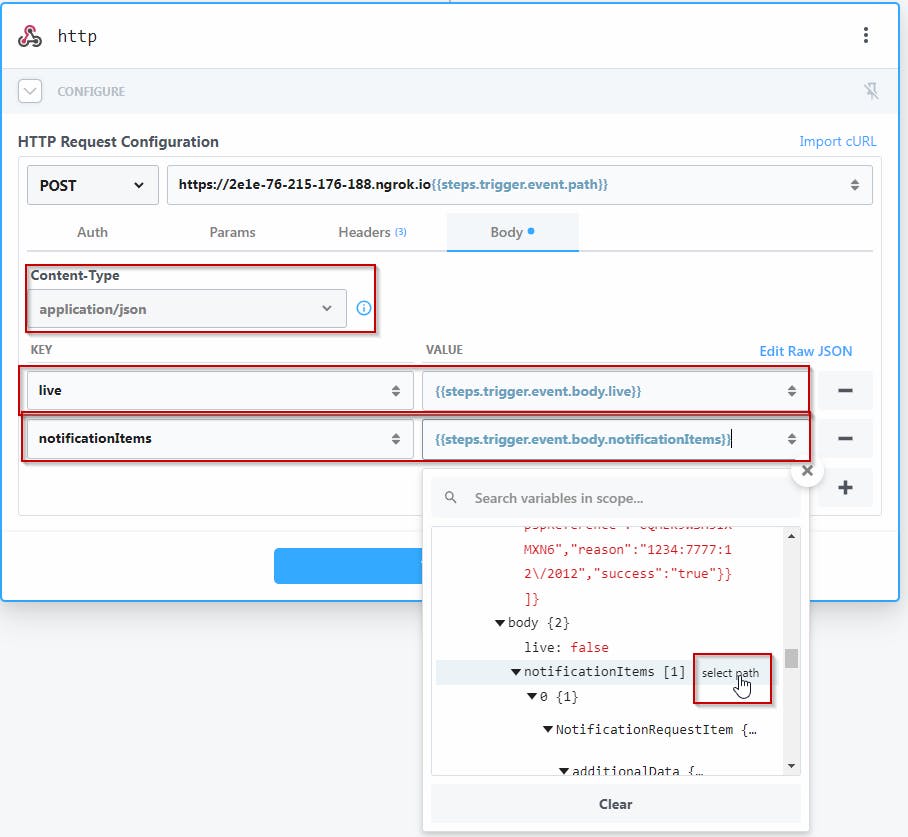
Click Test and you should return a ‘Success’ message and return value of [accepted]
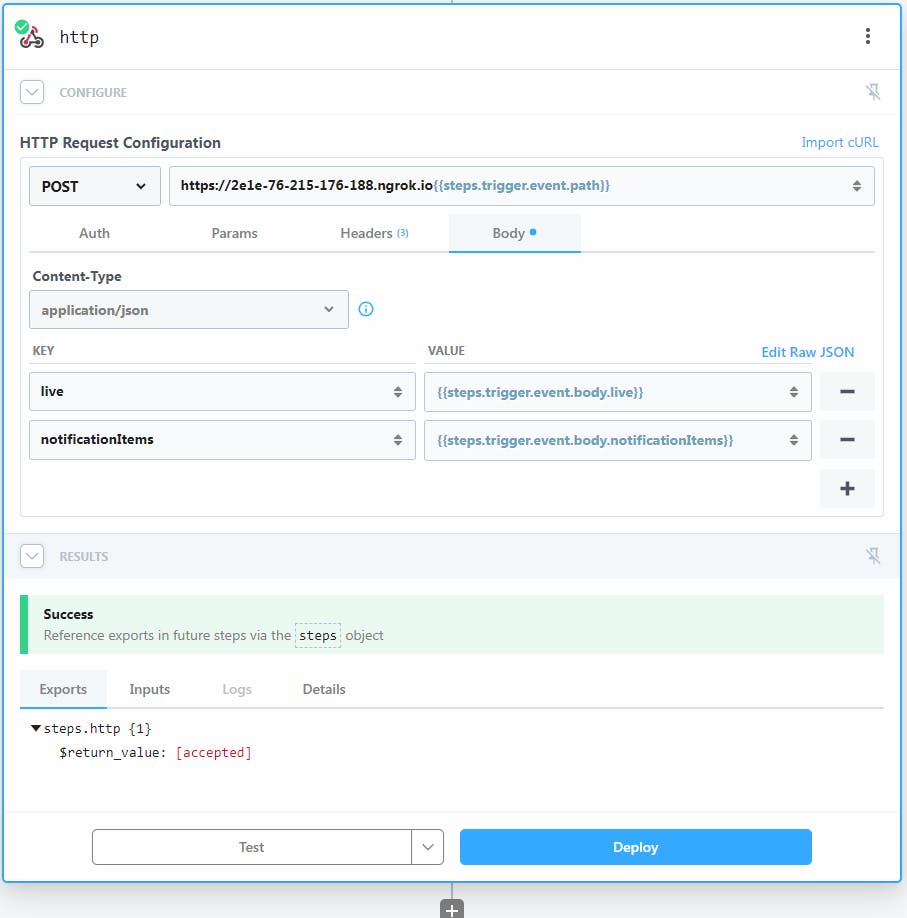
Do NOT “Deploy” because you will then be accepting all notifications posted from all environments. You’re only allowed 333 invocations a day with a free pipedream account and the # of POSTs you receive will be much higher than that.
When you checkout from a local environment you will see a new POST event in the trigger step of our workflow that you can select. After selecting, click ‘Test workflow’ to update your local environment with the appropriate data.
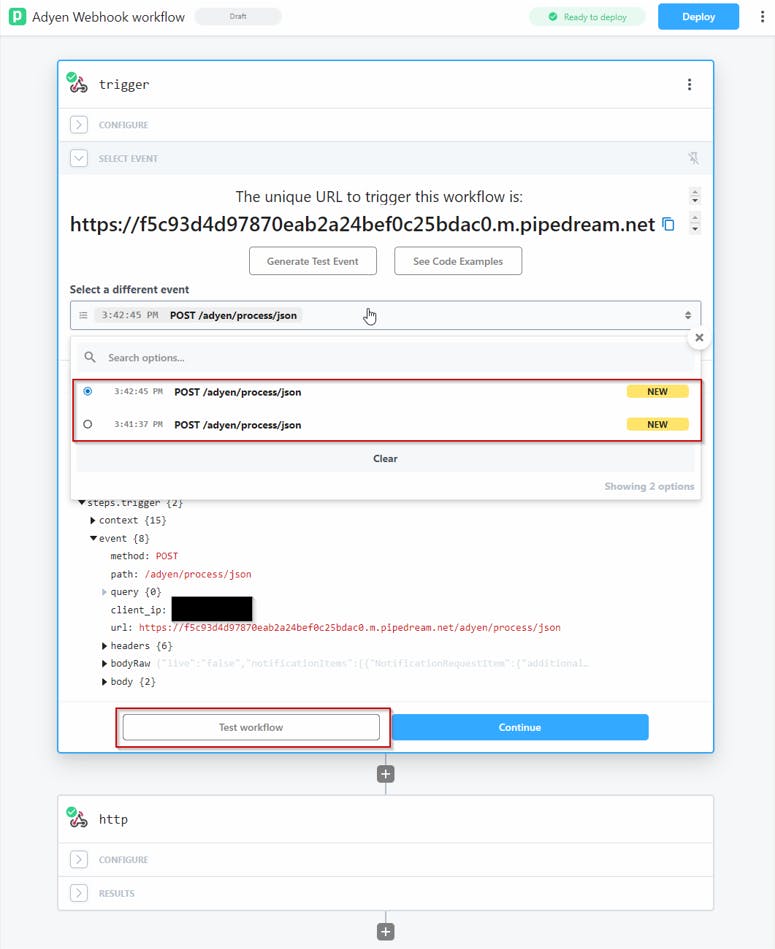
- ensure that your local environment is updated as expected.
Additional Notes/Limitations
ngrok Tunnel
The ngrok tunnel is unstable and has to be restarted often on Windows environments.
When the ngrok tunnel is restarted it will generate a new URL every time. This has to be updated in Pipedream or in the Adyen configuration every time it restarts.
In Ubuntu the tunnel seems to be much more stable but will have to remain open in a terminal window.
Unsure of the reliability on Mac.
Pipedream Connection
Can’t be automated completely because all POSTs are sent from Adyen to each endpoint.
- This could use further investigation to determine if there is a way to push only the notifications for the respective environment from Adyen, or if there is a way to filter these
